Must-Have Nail Art Tools Every Beginner Should Own
Starting nail art at home is exciting right up until the moment you realize how many products and tools are on the market. A beginner can spend far too much money on things that look useful, only to discover that half of them sit untouched in a drawer. I have seen this happen with first-time hobbyists, with beauty students, and with people who simply wanted their at-home manicure to look a little more polished.
The good news is that you do not need a salon-sized setup to create clean, attractive nails. You need a small group of reliable tools that help you prep well, paint neatly, and experiment without making the process harder than it needs to be. Good nail art is usually less about owning everything and more about understanding what each tool actually does.
That matters because beginners often focus on decoration before they learn control. They buy rhinestones, chrome powders, and ten shades of gel polish colors, then struggle with uneven shaping or flooding the cuticle line. The strongest beginner kit starts with prep, then precision, then design.
The tools that make the biggest difference
If I were helping someone build a first nail kit from scratch, I would steer them toward a short list of essentials before anything trendy. These are the tools that get used repeatedly, whether you like office-friendly nails, bright vacation nails, soft neutral nail colors, or more playful mismatched nails.
- A good nail file in 180 grit and a buffer
- A cuticle pusher and cuticle nippers used carefully
- A cleanup brush or angled brush for detail correction
- Dotting tools and a few nail art brushes
- A reliable base coat, top coat, and polish remover
That may look simple, but each item pulls more weight than most beginners expect.
A quality file affects everything. If your nail shape guide starts with rough, uneven edges, your polish work will never look fully intentional. Even a basic short oval or squoval shape looks more expensive when the perimeter is crisp and symmetrical. A buffer helps smooth ridges and adds a uniform surface, though it should be used lightly. Over-buffing is one of the fastest ways to weaken natural nails, especially if you already keep them on the thinner side.


The cuticle pusher matters because polish sticks best to a clean nail plate. Many lifting issues, especially with gel, start when invisible cuticle remains attached near the base. Beginners often think their product is the problem when the real issue is prep. A metal pusher gives more control than the flimsy plastic ones found in low-cost kits, but a wooden orange stick still has a place, especially for gentle cleanup and small corrections.
A cleanup brush is one of the most overlooked tools in beginner nail art. When people ask how salon manicure results look so sharp, part of the answer is simple correction. Experienced nail technicians do not paint perfectly in one pass every time. They correct edges. A small angled brush dipped in remover can clean flooded sidewalls, refine French tip designs, and sharpen color blocking. It rescues many mistakes before they become obvious.
Dotting tools and nail art brushes are where design starts to feel possible. You do not need a huge set. A fine liner, a short detail brush, and one medium striping brush are enough for most early nail design tutorials. Dotting tools create daisies, hearts, stars, abstract patterns, and easy accent nails with almost no learning curve.
Prep tools are not glamorous, but they carry the manicure
Most nail design inspiration online skips the prep stage because it is less visual. In practice, prep determines whether your manicure lasts two days or a full week. It also affects how smooth your color looks, whether you are wearing dark nail colors, pastel nail colors, or classic French tip colors.
A file should suit both your natural nail condition and your preferred nail length guide. If you keep nails short, you want a file that shapes precisely without shredding the corners. If you like medium almond or soft coffin, you need enough grit to refine the sidewalls and free edge without creating heat or splitting. Cheap files often wear out quickly and become inconsistent. That inconsistency shows up in uneven curves and jagged tips.
Buffers deserve restraint. A few passes are useful for smoothing mild ridges before a sheer polish or neutral nail colors, which tend to reveal every texture change. More than that is usually unnecessary. If your nails are already smooth, skip buffing and focus on cleaning the plate well.
Cuticle tools need a careful hand. There is a big difference between pushing back softened cuticle and cutting living skin. Beginners often overtrim because they want that tight salon manicure look. The result can be soreness, hangnails, and an irritated nail fold that makes polish application harder, not easier. If you are just starting, a pusher and cuticle remover are often enough. Nippers are best used only for loose, lifted dead skin.
A nail brush for dusting off filings is helpful too, even if it is not the first thing people think to buy. Filing dust left on the nail plate can interfere with polish adhesion and leave texture in the finish.
Brushes are where beginner nail art becomes real
There is no need to buy twenty nail art brushes. Most sets are padded with shapes you will never touch. A beginner gets far more value from three good brushes than from a bulky case of inconsistent ones.
The fine liner handles swirls, simple florals, abstract curves, and delicate French tip designs. It is the brush I reach for most when doing elegant wedding nails, date night nails, or understated everyday nail designs. A short detail brush gives better control for tiny sections, especially if your hands are not steady yet. It is also excellent for color placement in two-tone nails or multicolor nails where sections meet cleanly. A striping brush helps with straight or curved lines, and with a little patience, it makes plaid, waves, and minimalist geometric looks possible.
Brush care matters more than people think. Dried product at the ferrule ruins precision quickly. If you use regular polish, clean brushes promptly with remover and reshape the bristles. If you use gel, wipe them with the appropriate cleanser and keep them out of direct light. Many beginners assume their brush is bad when the real issue is product buildup.
One practical note from experience: very long liner brushes look impressive online, but they are not always beginner-friendly. They hold a lot of product and can be harder to control. A shorter liner often feels steadier at first.
Dotting tools do more than dots
Dotting tools are one of the best value purchases in nail art because they bridge the gap between basic polish and actual design. A simple two-ended set gives you multiple circle sizes, and those circles become petals, cherries, clouds, tiny bows, polka dots, snowflakes, and abstract patterns.
If you are exploring nail art ideas for beginners, dotting tools remove a lot of pressure. You do not need to paint a perfect heart freehand when two dots and a pull with a detail brush will do it. For Valentine’s Day nails, they make easy layered hearts. For Easter nail designs, they create soft pastel flowers and speckled egg effects. For holiday nail art around New Year’s nails, dots in metallic shades can mimic confetti. For Thanksgiving nails, small clusters in rust, gold, and brown can suggest leaves without requiring advanced painting skills.
They are also helpful with ombre color combinations. A sponge often gets the spotlight for ombre, but dotting and dragging semi-wet colors can create a softer, more organic fade for abstract looks.
The right polish choices help more than a large polish collection
Beginners often think they need dozens of nail polish colors before they can create variety. In reality, a smart core range gives you more flexibility than a crowded drawer of similar shades.
Start with a creamy white, a true black, a nude that suits your skin tone, one red, one soft pink, and two or three trend shades you genuinely enjoy. From there, you can build combinations that cover most moods and seasons. White and nude support French tip colors and bridal nail designs. Black sharpens graphic art and accent nails. Red works for date night nails, holiday nail art, and classic salon manicure looks. A soft pink handles office-friendly nails and elegant wedding nails with equal ease.
Color finish matters too. Some bright nail colors streak on the first coat and frustrate beginners. Some pastels look lovely in the bottle but apply chalky. If you are still developing technique, choose formulas known for even coverage. Sheer shades can be beautiful, but they show every ridge and brush stroke. Dark nail colors are dramatic, though they demand cleaner edge work because mistakes are more visible. Neutral nail colors are forgiving in one sense and unforgiving in another. They hide minor edge flaws but reveal texture and shape inconsistencies.
If you use gel polish colors, the same logic applies. Build from useful staples, not hype. The best first set is not the loudest one. It is the one that lets you make spring nail colors, summer nail colors, fall nail colors, and winter nail colors without buying a separate bottle for every single trend. A warm beige, cool pink, deep berry, soft sage, classic navy, crisp white, and glossy top coat can carry you through a surprising number of looks.
Acrylic powder colors are a separate category and do not belong in every beginner kit. Acrylic can be rewarding, but it introduces a steeper learning curve, stronger odors, more filing, and more room for structure mistakes. If your main goal is simple at-home manicure art, regular polish or gel is easier to manage in the beginning.
A lamp, if you choose gel, should be chosen with care
Gel can be a great option for beginners who want durability, especially for vacation nails, beach vacation nails, or weeks when they do not have time to repaint. But gel only makes sense if you are ready for the extra steps. A proper lamp is not optional. It needs to be compatible with your gel system and powerful enough to cure evenly.
The appeal is obvious. Gel stays put while you work, which means more time for French tip designs, multicolor nails, and tiny details without smudging. The trade-off is that removal takes more patience, and sloppy application can lead to lifting or skin exposure. If polish touches the skin repeatedly and cures there, that can create sensitivity issues over time. This is one T Nails & Spa Newnan reason nail technician tips often stress precision and cleanup before curing.
For beginners, gel works best when expectations are realistic. Keep the first few sets simple. Use a solid color, a dot accent, or a single abstract line rather than trying full chrome gradients and layered encapsulated art immediately.
Small extras that quietly improve results
Once the true essentials are covered, a few supporting tools can make the process smoother. None are mandatory on day one, but all are genuinely useful.
- Lint-free wipes for cleaner prep and top coat finishing
- A silicone tool for pressing decals, flakes, or chrome neatly
- Tweezers for stickers and small embellishments
- A palette or small tile for mixing polish
- Good task lighting
Lint-free wipes do exactly what the name suggests. Cotton pads often leave fibers behind, and those fibers somehow become visible only after top coat. A palette, even a small ceramic tile, makes polish mixing easier for custom nail polish combinations. This is especially helpful if you enjoy cool-toned nails, warm-toned nails, or seasonal shades that you do not want to buy in a full bottle.
Good lighting is underrated. A manicure done under warm, dim room light can look very different in daylight. This shows up with nude shades, cool pinks, and fine-line art. If you wonder why your left hand always looks cleaner than your right, poor visibility may be part of the reason.
Matching tools to the style you actually want to wear
Not every beginner wants the same end result. The best kit depends a little on whether you prefer minimalism, trend-led designs, or occasional event nails.
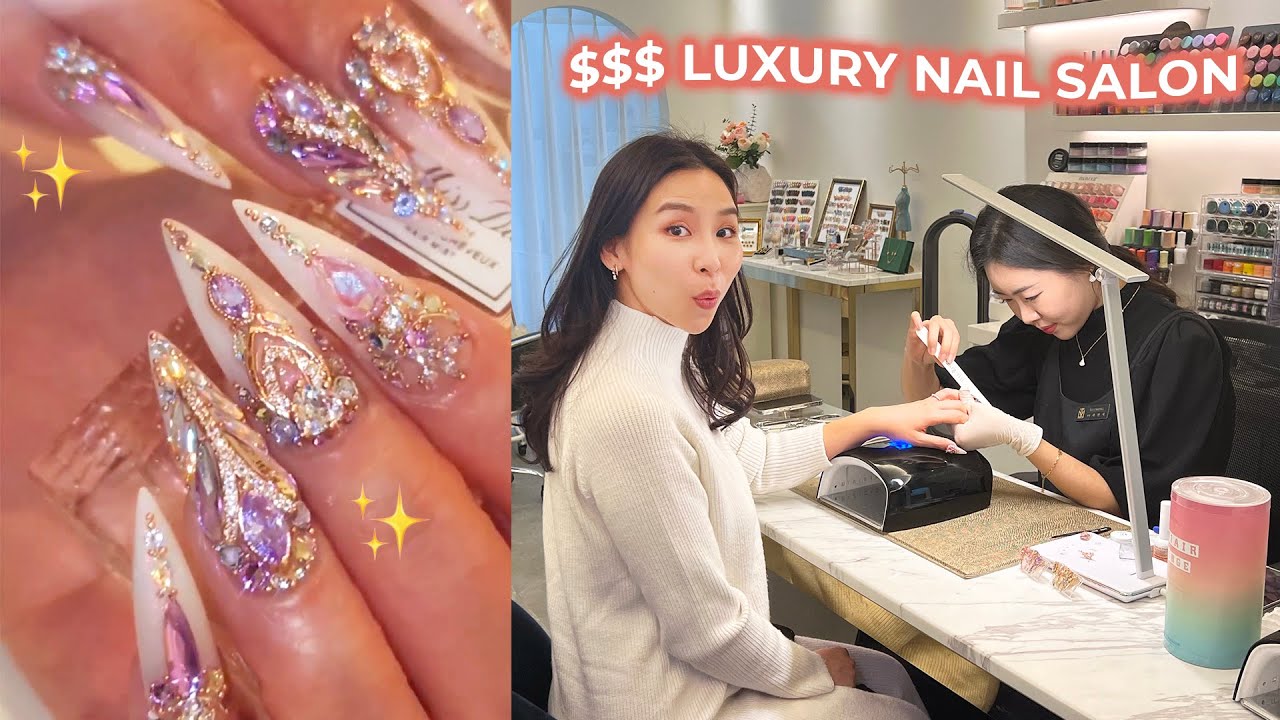
If you like everyday nail designs and office-friendly nails, your money is better spent on prep tools, a cleanup brush, and a couple of refined shades than on charms and gems. Crisp shape, smooth color, and tidy edges do most of the work.
If you love celebrity nail trends, French tip colors in unexpected combinations, or mismatched nails, then detail brushes and a palette become more important. They help you divide color cleanly and experiment with negative space.
If your interest is event-focused, say prom nails, graduation nails, bridal nail designs, or elegant wedding nails, look at what finishes you return to most. Sheer pinks, milky whites, soft metallics, and subtle shimmer often need excellent prep and even application more than complex tools. You may only need one liner brush for tiny pearl accents or delicate bows.
If pedicure ideas are part of your routine too, some overlap exists, especially with files, cuticle tools, and cleanup brushes. Toe nail art is usually simpler, but prep still counts. A clean shape and smooth cuticle area make a basic polish look much better.
What beginners usually buy too early
There is a familiar pattern in starter kits that grow too quickly. A beginner sees dramatic nail salon ideas online and buys e-files, builder gels, acrylic systems, stamping plates, rhinestones, chrome powders, transfer foils, dried flowers, and thirty shades of glitter before they are fully comfortable applying a base color cleanly.
Nothing is wrong with those products in themselves. They simply make more sense once your basics are steady. An e-file, for example, can be useful in trained hands but easy to misuse on natural nails. Stamping can create beautiful results, but many people get frustrated when placement and pressure take practice. Chrome looks stunning, though it tends to work best when the base and top layers are already smooth and properly cured.
This is why salon manicure results can feel so different from early at-home attempts. It is not just the products. It is sequencing, restraint, and repetition.
A practical order for building your kit
If you want to avoid overspending, build your collection in phases instead of buying everything at once. First, get your prep tools and core polish wardrobe. Then add one or two design tools and practice on simple looks like accent nails, two-tone nails, or soft French tip designs. After that, branch into more expressive ideas such as multicolor nails, ombre color combinations, and seasonal themes.
This approach helps you learn what you actually enjoy. Some people discover they love clean, neutral nail colors and never touch glitter again. Others realize they are happiest doing nail design inspiration boards on their own hands every weekend, mixing bright nail colors one week and dark nail colors the next. There is room for both.
The real beginner advantage
There is something useful about starting fresh. You are not unlearning years of rushed habits. You can build good technique from the beginning. If you focus on shape, prep, brush control, and a small toolkit, your results improve fast. Not overnight, but fast enough to notice from one manicure to the next.
The first clean line you paint with a detail brush feels different from the fifth. The fifth feels different from the twentieth. That is true whether you are trying French tip colors for the first time, testing spring nail colors after a long winter of dark shades, or creating simple holiday nail art for one weekend only.
The best beginner nail art tools are not the flashiest products in the beauty aisle. They are the ones that remove friction, sharpen your work, and make practice enjoyable. A sturdy file, a careful cuticle tool, a cleanup brush, a few well-chosen nail art brushes, dotting tools, and a dependable set of basics will take you much further than a crowded kit ever will. Once those are in place, your manicure types can expand naturally, from everyday polish to gel details, from subtle salon-ready looks to playful nail art ideas for beginners that actually turn out the way you pictured them.